
Gardening Tips
How to Grow Yellow Squash Plants for a Steady Harvest
Jul
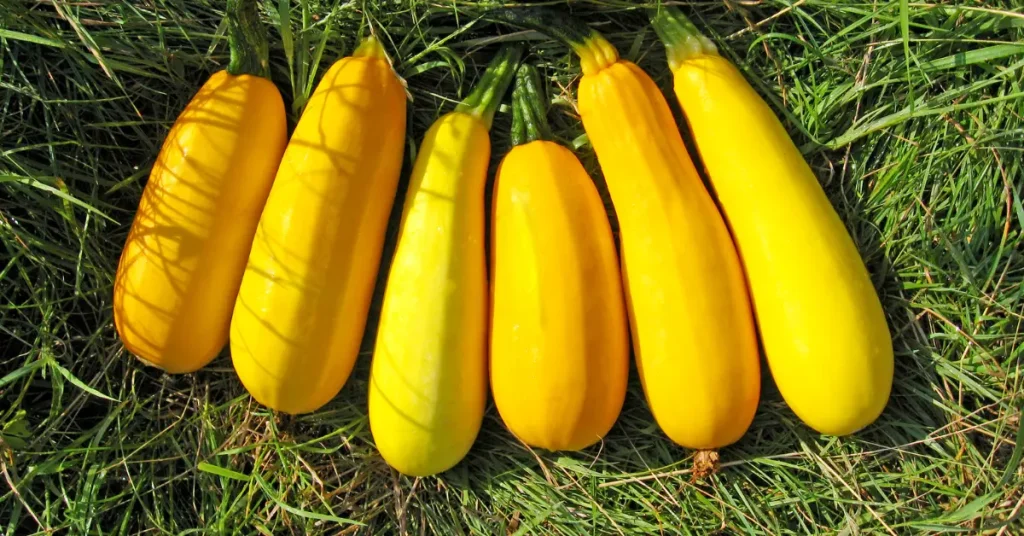
Yellow squash plants are one of the easiest and most rewarding vegetables to grow in a home garden. Fast-growing, highly productive, and versatile in the kitchen, they can provide a steady harvest of tender, flavorful squash from early summer through the first frost with just a little care.
In this guide, you’ll learn everything you need to know about growing yellow squash plants, from selecting the right planting site and preparing the soil to watering, fertilizing, preventing common pests, and harvesting at the perfect time. Whether you’re growing squash in raised beds, traditional garden rows, or containers, these practical tips will help you enjoy healthy plants and an abundant harvest all season long.
What Is Yellow Squash?
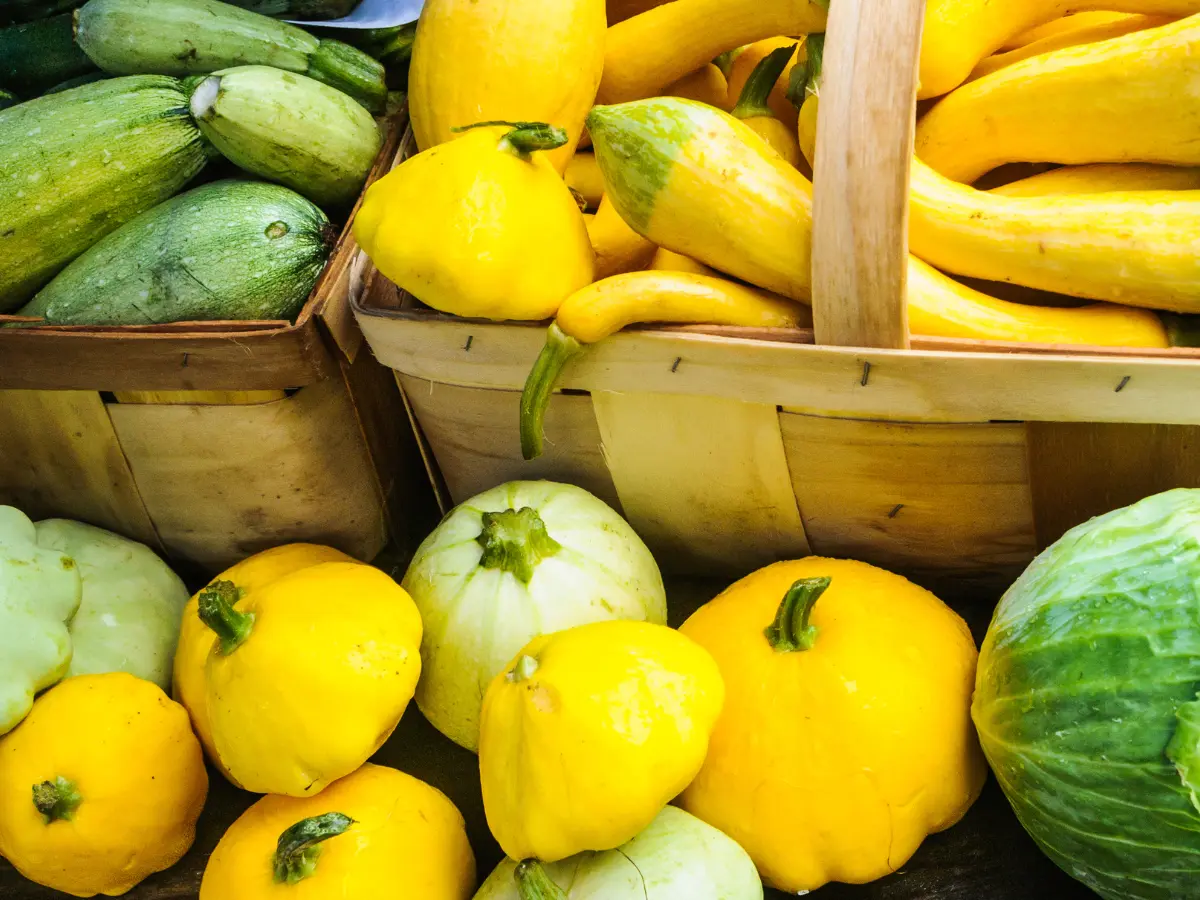
Yellow squash is a type of summer squash. Most varieties belong to the species Cucurbita pepo, which also includes zucchini and pattypan squash.
Unlike winter squash, yellow summer squash is picked while the skin is still soft and the seeds are small. You do not wait for the rind to become hard.
The two most common types are yellow straightneck squash and yellow crookneck squash. Straightneck squash has a smooth, straight shape. Crookneck squash has a narrow, curved neck and may have smooth or slightly bumpy skin. Both have a mild flavor and similar growing needs.
Most yellow squash plants have a compact bush habit. They do not spread as far as pumpkins or many winter squash vines, but one healthy plant can still take up several feet of garden space.
Choose the Right Yellow Squash Variety
The best variety depends on your garden, climate, and cooking plans.
Choose a compact bush variety for containers, raised beds, or small backyards. A more open plant habit can also make the fruit easier to find and improve airflow between leaves.
Gardeners who often deal with powdery mildew should look for disease-resistant yellow squash seeds. Resistance does not make a plant immune, but it may help the plant stay productive longer.
In areas with short summers, choose a variety with fewer days to maturity. Many summer squash varieties begin producing within about 50 to 60 days, although weather and growing conditions can change the timing.
Read the seed packet before planting. It should tell you the plant habit, spacing, days to maturity, and expected harvest size.
For more help comparing cultivars, see our guide to the best summer squash varieties for home gardens.
How to Plant Yellow Squash
When to Plant
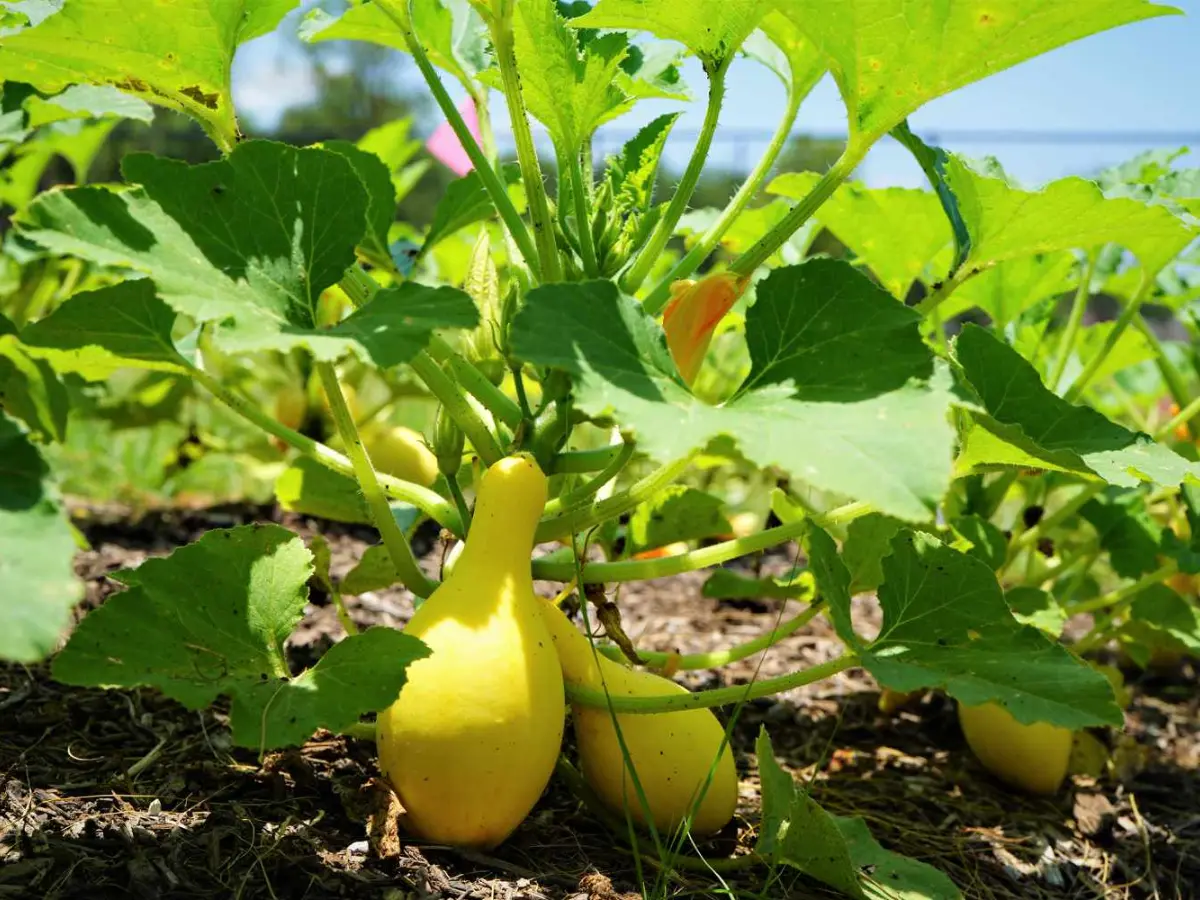
Plant yellow squash after the last spring frost has passed and the soil has warmed. A soil temperature near 70 degrees Fahrenheit at a depth of two inches gives squash seeds a strong start. Local planting dates vary across the United States, so use soil temperature and your local frost calendar rather than planting on the same date each year.
Southern gardeners may be able to plant in early spring and grow another crop later in summer. Gardeners in northern states usually plant from late spring to early summer.
Yellow squash does not handle frost well. For a fall crop, count backward from your expected first frost date. Add the variety’s days to maturity plus about two extra weeks for slower growth as the days become shorter.
You can also succession plant yellow squash. Sow a few plants first, then plant another small group two or three weeks later. This can provide a longer harvest and replace older plants damaged by pests.
Choose a Sunny Planting Site
Yellow squash needs full sun. Give the plants at least six hours of direct sunlight each day. Eight hours is even better in many gardens.
Avoid placing squash beside a wall, fence, or tall crop that blocks the morning sun. Morning light helps dry moisture from the leaves and may reduce conditions that favor leaf diseases.
The planting site should also have good airflow. Crowded squash plants often stay damp longer after rain and are harder to inspect for squash bugs or powdery mildew.
Rotate crops when possible. Avoid planting squash in the same bed where squash, cucumbers, pumpkins, or melons recently grew. These plants are all cucurbits and may share pests and diseases.
Prepare the Best Soil
Yellow squash grows best in fertile, well-drained soil that holds moisture without staying soggy.
Mix finished compost into the top few inches of soil before planting. Compost improves soil structure and adds organic matter. A soil test can tell you whether the bed also needs fertilizer or a pH adjustment.
Avoid adding large amounts of high-nitrogen fertilizer. Too much nitrogen may produce a large plant with many leaves but fewer flowers and fruits.
Heavy clay soil can stay wet around squash roots. Improve it with compost or grow the plants in a raised bed. Sandy soil drains fast and may need more frequent watering.
For a detailed soil plan, read our guide to improving garden soil before planting vegetables.
How to Grow Yellow Squash
How to Grow Yellow Squash From Seed
Direct sowing is often the easiest way to grow yellow squash. Squash roots can be sensitive to damage during transplanting, so yellow squash seeds planted in warm garden soil may establish faster than root-bound seedlings.
Follow these steps.
-
Loosen the soil and remove weeds.
-
Plant each seed about one-half inch deep.
-
Place two or three seeds in each planting spot.
-
Water gently so the soil is moist but not flooded.
-
Keep the soil evenly moist until the seeds sprout.
-
After the seedlings develop, keep the strongest plant and remove the weaker ones.
Do not pull unwanted seedlings if their roots are close together. Cut them at soil level with clean scissors to avoid disturbing the plant you want to keep.
Seeds may sprout within a week in warm soil. Germination will take longer in cool or dry conditions.
Starting Yellow Squash Seeds Indoors
Starting seeds indoors can help gardeners with short growing seasons, but do not start them too early.
Sow seeds about three to four weeks before you plan to transplant them. Use individual pots so the roots have enough room. Keep the seedlings under strong light and avoid overwatering.
Begin hardening off the plants about one week before transplanting. Place them outdoors for a short period each day, then slowly increase their time outside.
Move seedlings into the garden after frost danger has passed and the soil is warm. Handle the root ball gently. A large, root-bound squash seedling may struggle more than a smaller, younger plant.
How Far Apart to Plant Yellow Squash
Proper yellow squash spacing gives the leaves room to spread and makes pest control easier.
Many bush yellow squash varieties need about two to three feet of space between plants or planting hills. Exact spacing varies by cultivar, so follow the seed packet when it gives a different recommendation.
Do not judge spacing by the size of a young seedling. A small plant can become wide and dense within a few weeks.
Crowded plants compete for water and nutrients. Dense leaves can also hide oversized fruit, squash bug eggs, and early signs of disease.
For a square foot garden or raised bed, place squash near an edge or corner. Let the leaves extend over a path instead of covering smaller crops.
Watering
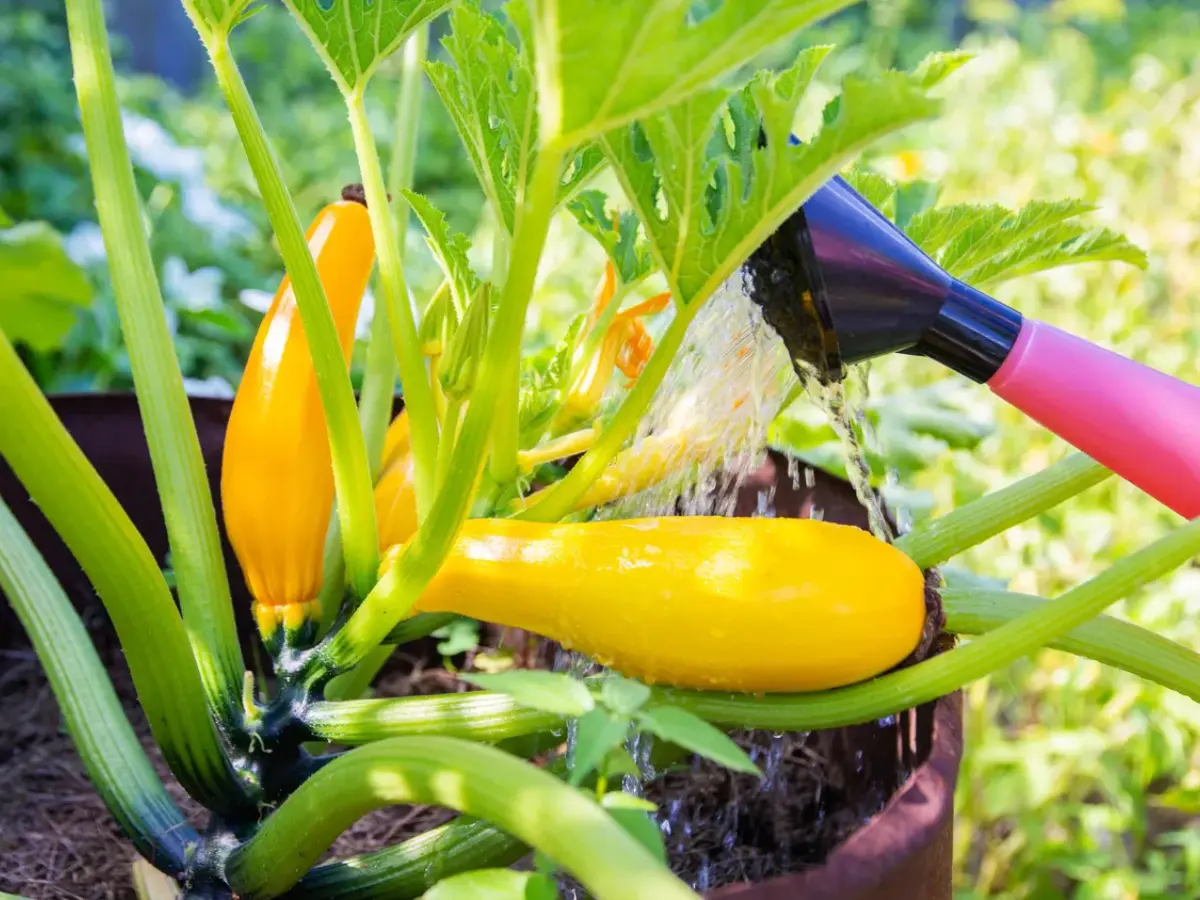
Most established squash plants need about one inch of water per week from rain or irrigation. Sandy soil and containers may need water more often. Always check the soil instead of watering only by the calendar.
Push your finger one or two inches into the soil. Water when it feels dry at that depth.
Soak the root area deeply. Shallow watering encourages roots to remain near the surface, where the soil dries faster.
Water at the base of the plant. A drip line, soaker hose, or watering wand works well. Try to keep the leaves dry, especially late in the day. Wet leaves and poor airflow may encourage fungal diseases.
A layer of clean straw or other organic mulch can help the soil hold moisture. Wait until the soil has warmed before adding a thick layer.
Fertilizing
Start with compost-rich soil. In many home gardens, that provides a good base for early growth.
If your soil test recommends more nutrients, use a fertilizer labeled for vegetable gardens. Follow the product directions. More fertilizer does not always mean more squash.
Feed the plant when it begins to grow quickly or form flower buds if the soil needs it. Keep dry fertilizer away from the stem and leaves. Water the soil after applying it.
Watch the plant after feeding. Dark green leaves and rapid growth with few flowers may be a sign of too much nitrogen.
Container-grown yellow squash may need light, regular feeding because water can carry nutrients out through the drainage holes.
Hand-Pollinating Yellow Squash
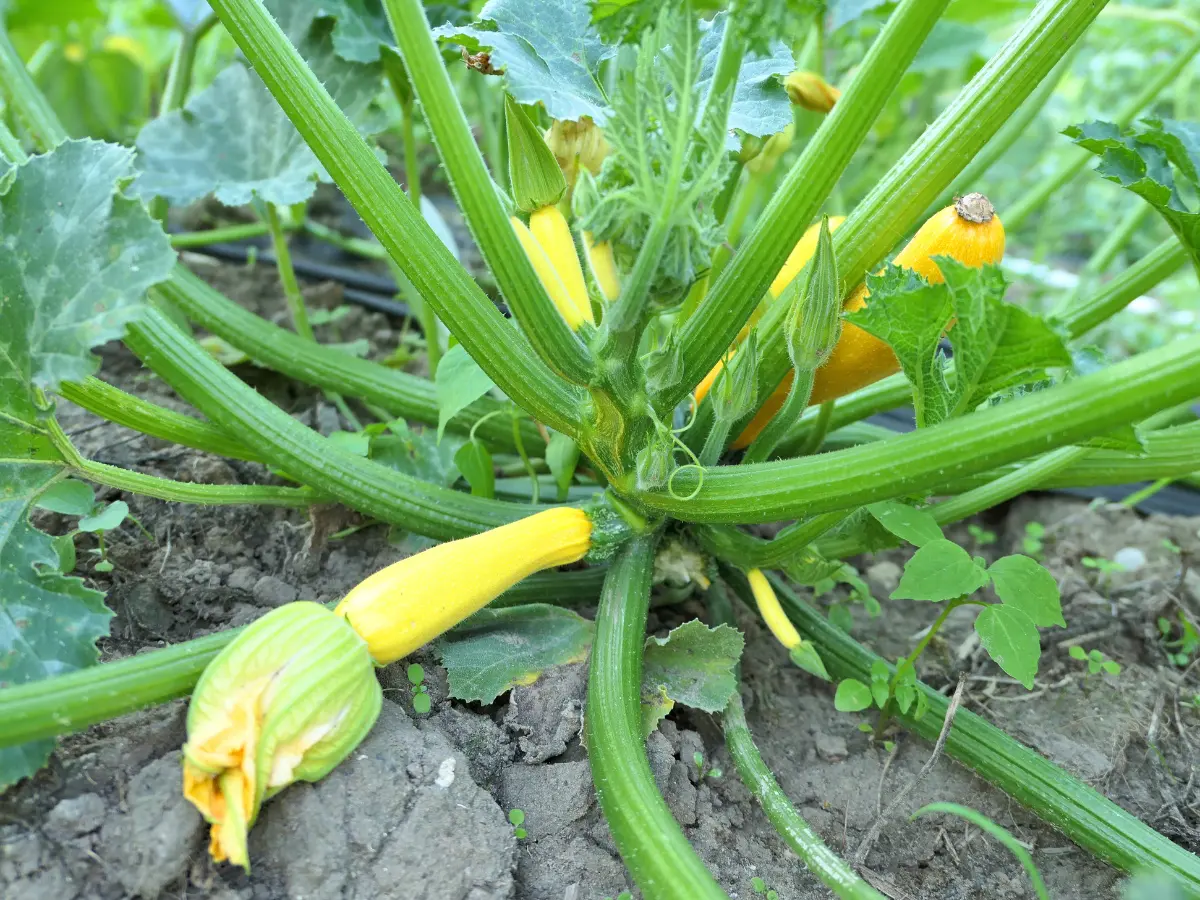
Understanding Male and Female Squash Flowers
A yellow squash plant produces separate male and female flowers.
A male flower grows on a thin stem. A female flower has a small, immature squash behind the petals.
Male flowers often appear before female flowers. This is normal. The first flowers may open and fall without producing fruit. Female blooms usually follow as the plant becomes larger.
Bees and other pollinators move pollen from male flowers to female flowers. Without enough pollen, the small squash may turn yellow, become soft, or fall from the plant.
Avoid spraying insecticides on open flowers. Apply any labeled product at a time that reduces contact with bees, and always follow the label.
See our pollinator-friendly vegetable garden guide for ways to bring more beneficial insects into your yard.
How to Hand-Pollinate Yellow Squash
Hand pollination may help when the plant has both male and female flowers but little fruit.
Pollinate in the morning when the flowers are open.
Pick a fresh male flower and remove its petals. Gently touch the pollen-covered center to the center of an open female flower. You can also transfer pollen with a small, clean paintbrush.
Use pollen from a flower on the same plant or another summer squash plant.
One male flower can often pollinate more than one female flower. Work gently so you do not damage the blooms.
Heat can also affect flower production. During very hot weather, squash plants may produce more male flowers and fewer female flowers. The balance often improves when temperatures become less extreme.
Growing Yellow Squash in Containers
Yellow squash can grow in a container, but it needs more room than many herbs or leafy vegetables.
Choose a compact bush variety and use a large pot with drainage holes. A container holding at least five gallons is a practical minimum, but a larger pot provides more root space and dries out more slowly.
Fill the pot with quality container mix. Do not use heavy garden soil by itself, since it may drain poorly in a container.
Place the pot in full sun. Check the soil every day during hot weather. Container vegetables may need daily watering in summer because their limited soil volume dries quickly.
Grow one squash plant per large container. Several plants in one pot will compete for moisture and nutrients.
Common Yellow Squash Pests
Squash Bugs
Squash bugs feed on plant sap and can cause leaves to wilt, turn brown, or die.
Check the undersides of leaves several times a week. Look for clusters of bronze or brown eggs, young gray insects, and flat adult bugs.
Remove eggs as soon as you find them. Young squash bugs are easier to manage than a large adult population.
A floating row cover can protect young plants from early insect damage. Remove the cover when the plant begins to flower so bees can reach the blooms.
Squash Vine Borers
A squash vine borer larva feeds inside the lower stem. The plant may suddenly wilt even when the soil is moist.
Inspect the base of the stem for holes and sawdust-like waste. Once a larva is deep inside the stem, control becomes difficult. Prevention and early detection are important. Remove badly infested plants and clean up crop debris after the season.
Cucumber Beetles
Striped or spotted cucumber beetles chew leaves, flowers, and young plants. They may also spread bacterial disease.
Protect young seedlings, control weeds, and inspect plants often. Contact your local county Extension office when you need current treatment advice for your state.
Common Yellow Squash Diseases and Problems
Powdery Mildew
Powdery mildew looks like white or gray powder on the leaves. It often starts on older leaves and spreads across the plant.
Give squash plants enough room, water at soil level, and remove badly damaged leaves. Resistant varieties may remain productive longer.
Some squash varieties have natural silver markings on their leaves. These patterns are part of the leaf and do not rub off like powdery mildew.
Yellow Leaves
One or two yellow lower leaves on an older plant may be normal. Widespread yellowing can point to overwatering, poor drainage, nutrient problems, root damage, or pest feeding.
Check the soil and the lower stem before adding fertilizer. Feeding a stressed or waterlogged plant may make the problem worse.
Blossom-End Rot
A dark, sunken area at the blossom end of a young squash is often linked to poor calcium movement inside the plant. Uneven watering is a common cause.
Keep the soil moisture steady. Do not add lime or calcium unless a soil test shows that the soil needs it.
Small Squash Falling Off
A tiny yellow squash that shrivels after the flower closes was likely not fully pollinated. Hand pollination and better pollinator activity may solve the problem.
Cold rain, extreme heat, and plant stress can also reduce fruit set.
Harvesting and Storing Yellow Squash
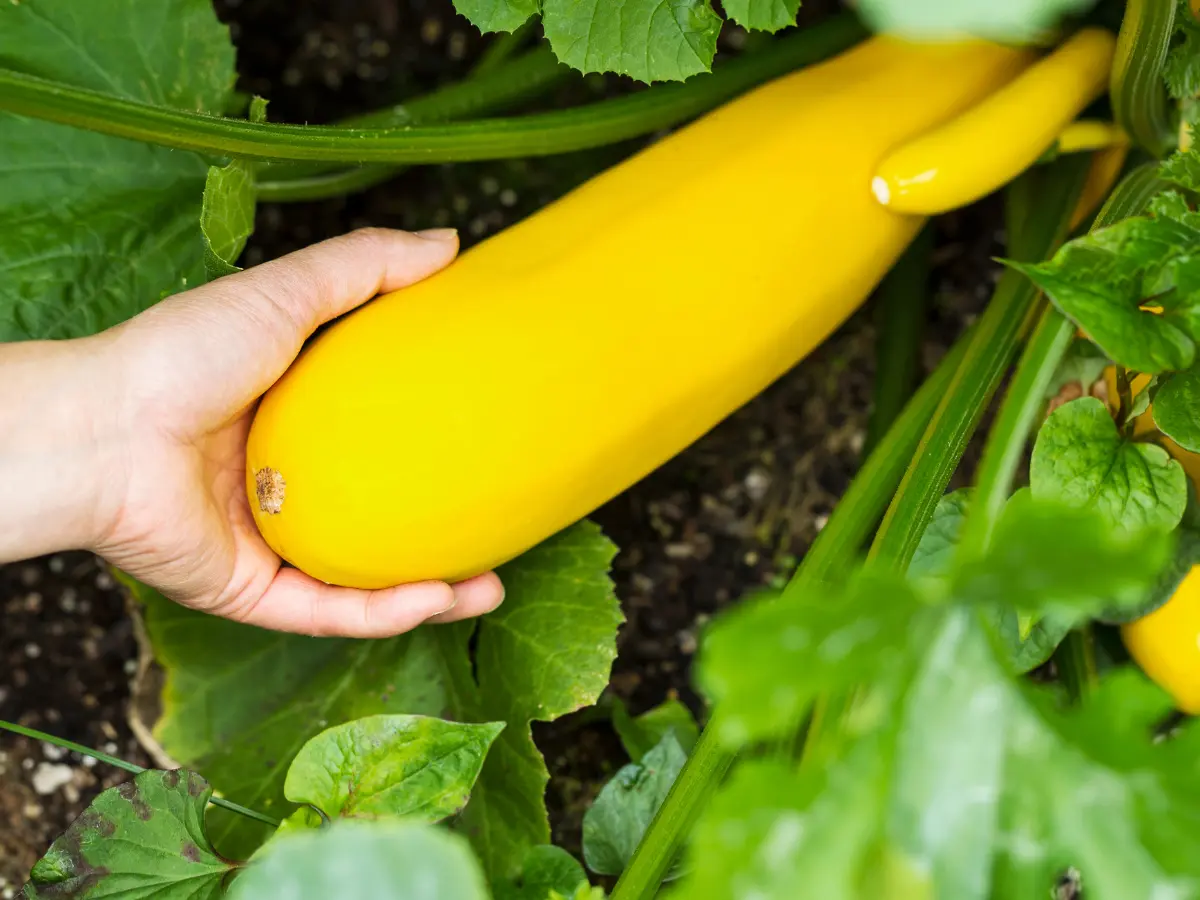
When to Harvest Yellow Squash
Many yellow straightneck and crookneck varieties taste best when they are about four to six inches long. Check the recommended size on your seed packet because some cultivars grow larger.
During warm weather, fruit can grow from small to oversized in only a few days. Check under the leaves every day.
Cut the squash with clean pruners or a knife. Leave a short piece of stem attached. Do not twist or pull the fruit, since this may damage the plant.
Frequent harvesting encourages the plant to keep producing. Large, mature squash has tougher skin, larger seeds, and lower eating quality. Summer squash is often ready only three to five days after its flower opens.
How to Store Fresh Yellow Squash
Handle fresh squash carefully because the skin bruises easily.
Do not wash the fruit until you are ready to use it. Store it in the refrigerator crisper in a loose plastic bag or covered container.
Fresh summer squash usually keeps good quality for about five to seven days. Older fruit will not become tender again during storage.
Use extra squash in stir-fries, grilled dishes, soups, breads, pickles, or freezer recipes. For safe freezing instructions, see our guide to preserving summer vegetables.
Common Yellow Squash Growing Mistakes
Planting too early is one of the most common mistakes. Seeds in cold soil germinate slowly and may rot.
Crowding plants is another problem. The garden may look empty at planting time, but squash leaves fill the space fast.
Other common mistakes include watering only the soil surface, using too much nitrogen, ignoring the undersides of leaves, leaving row covers on after flowering, and allowing fruit to become oversized.
Do not panic when the first male flowers fall. Give the plant time to produce female blooms.
Frequently Asked Questions (FAQs)
How long does yellow squash take to grow?
Many varieties are ready to harvest about 50 to 60 days after planting. Warm soil, steady moisture, and full sun can support faster growth. Cool weather or plant stress may delay production.
How many yellow squash plants should I grow?
One or two healthy plants may provide enough fresh squash for a small household. Plant a few more if you plan to freeze, pickle, or share the harvest.
Why does my yellow squash plant have flowers but no fruit?
The first flowers may all be male. The plant may also have poor pollination, too few bees, extreme heat, or wet weather that keeps pollinators away. Look for female flowers with a small squash behind them and hand-pollinate when needed.
Can yellow squash grow in partial shade?
The plant may survive in partial shade, but it will usually produce fewer flowers and fruits. Choose a site with at least six hours of direct sunlight for better results.
Grow Yellow Squash With Confidence
Learning how to grow yellow squash plants comes down to a few basic steps.
Wait for warm soil. Plant in full sun. Give each plant enough room. Keep the soil evenly moist. Check the leaves for pests. Make sure female flowers are being pollinated. Harvest the fruit while it is still small and tender.
You do not need a perfect garden. Start with fresh seeds and healthy soil, then watch the plants closely. A quick check every morning can help you spot a new squash, a dry bed, or a cluster of pest eggs before it becomes a larger problem.
Choose a yellow straightneck or crookneck variety that fits your space, prepare the planting site, and start your next summer squash crop after the last frost.
