
Gardening Tips
10 Growing Tips for Yellow Squash Plants for an Abundant Harvest
Aug
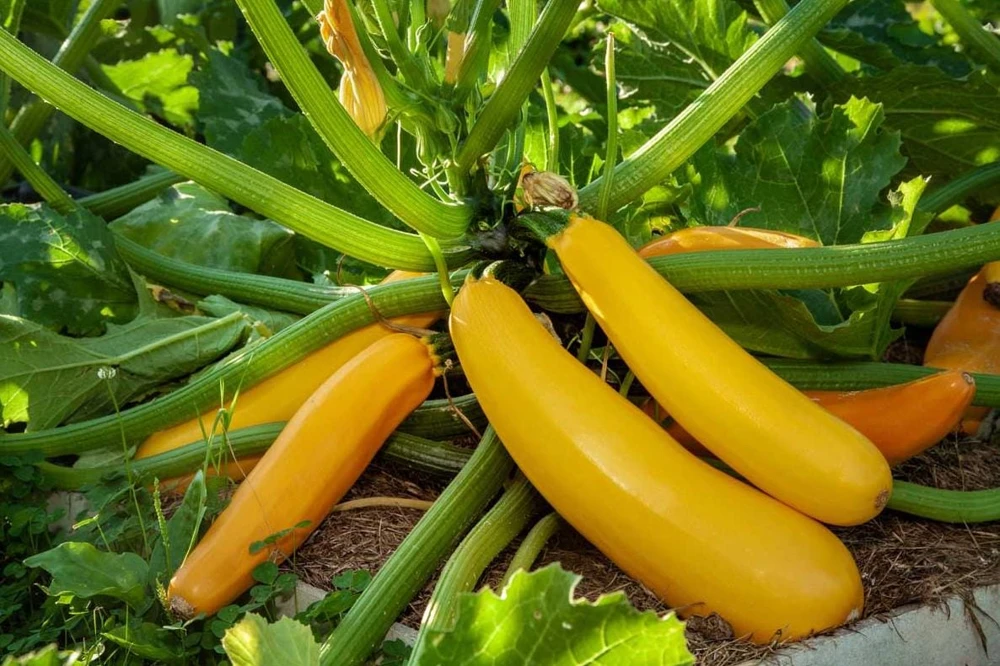
Yellow squash plants are among the most rewarding, fast-growing, and generous vegetables you can cultivate in a home garden. With their sunny blossoms and tender, buttery-flavored fruits, these warm-season staples can provide a steady harvest from early summer right up until the first crisp days of autumn. However, keeping these high-yielding plants healthy, productive, and free of pests throughout the long growing season requires a few key practices.
In this article, we delve into essential growing tips for yellow squash plants, practical, time-tested strategies to help your garden flourish. Whether you are dealing with hot midsummer spells, pest pressures, or flower production, these simple techniques will ensure your plants stay vigorous and leafy.
As we explore these top 10 tips, we’ll uncover the specific soil requirements, watering habits, and maintenance routines that yellow squash plants need to thrive. Whether you are growing straightneck or crookneck varieties in raised beds, traditional garden rows, or spacious containers, these expert tips will be your allies in achieving a heavy harvest.
Embrace the opportunity to optimize your garden routine with these practical tips and experience the joy of picking fresh, tender squash every single morning. Let’s dig into the details and unearth the secrets of growing high-yielding yellow squash.
If you’re planning your vegetable garden for the upcoming season, consider pairing your squash with the Best Plant Nursery to ensure you get healthy, high-quality seeds and soil amendments ready for your garden beds.
Read more:
- How to Grow Yellow Squash Plants for a Steady Harvest
- Top 7 Heat-Tolerant Vegetables For Hotter Summers
10 Growing Tips for Yellow Squash
Tip 1: Wait for Warm Soil Before Planting
Yellow squash is a tropical, warm-season crop that is exceptionally sensitive to cold earth. Planting seeds or setting out seedlings too early in chilly spring soil can cause seeds to rot, slow down root development, and leave young foliage vulnerable to stunting.
To give your squash the best possible start, wait until all danger of spring frost has passed and the soil temperature reaches at least 70°F (21°C) at a depth of two inches. Soil warmth promotes rapid germination, often bringing up sturdy green shoots within just five to seven days.
If you live in a short-season northern climate, consider using black plastic mulch or raised beds to warm the soil earlier in spring. A warm root system anchors the plant quickly, setting the stage for strong early growth.
Tip 2: Choose a Site with Full Sun and Good Airflow
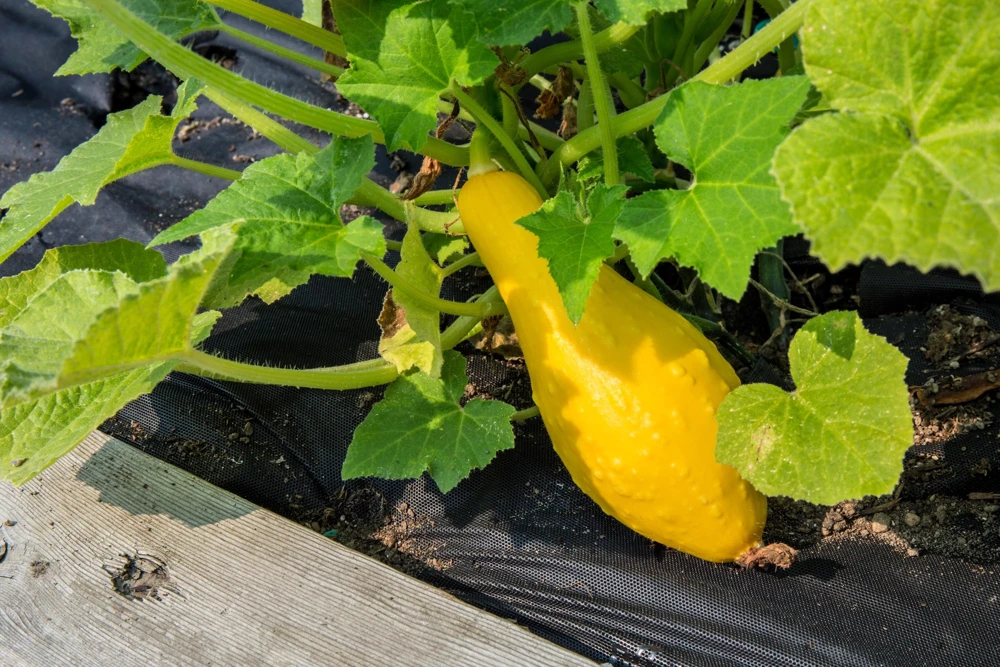
Yellow squash plants are true sun lovers that require maximum solar energy to support their large, broad leaves and rapid fruit production. Choosing the right spot in your garden layout is critical for maintaining plant vigor.
Select a planting site that receives at least six to eight hours of direct, unfiltered sunlight every day. Morning sunlight is particularly valuable because it quickly dries dew off the broad leaves, reducing the damp conditions that favor leaf diseases.
Additionally, give your plants plenty of elbow room. Position them away from tall fences, walls, or high-standing crops like corn or pole beans that might cast long shadows and block essential airflow around the foliage.
Tip 3: Space Plants Generously to Prevent Crowding
It is easy to underestimate how large a single yellow squash bush will become. What starts as a compact seedling will rapidly spread into a dense, sprawling bush taking up three to four feet of space in every direction.
Crowded squash plants compete fiercely for soil nutrients and soil moisture. Dense foliage also traps humidity, creates dark hiding spots for destructive squash bugs, and obscures mature fruits during harvest time.
Space bush varieties at least two to three feet apart in rows, or plant them on raised hills spaced four feet apart. If you are practicing square foot gardening, place your squash at the outer edge of the bed so the broad foliage can extend over garden paths rather than shading smaller neighbor crops.
Tip 4: Build Nutrient-Rich, Well-Draining Soil
Yellow squash plants are heavy feeders with aggressive growth habits. They require loose, fertile soil that holds steady moisture without becoming waterlogged or muddy around the crown.
Before planting, incorporate two to three inches of finished compost or well-rotted manure into the top six inches of garden soil. Organic matter improves soil structure, aids in drainage, and provides a continuous, slow-release nutrient base for young roots.
Aim for a slightly acidic to neutral soil pH between 6.0 and 6.8. If you are working with heavy clay soil, build raised beds filled with a rich topsoil and compost mix to ensure excess water drains away freely from delicate roots.
Tip 5: Water Deeply at Soil Level
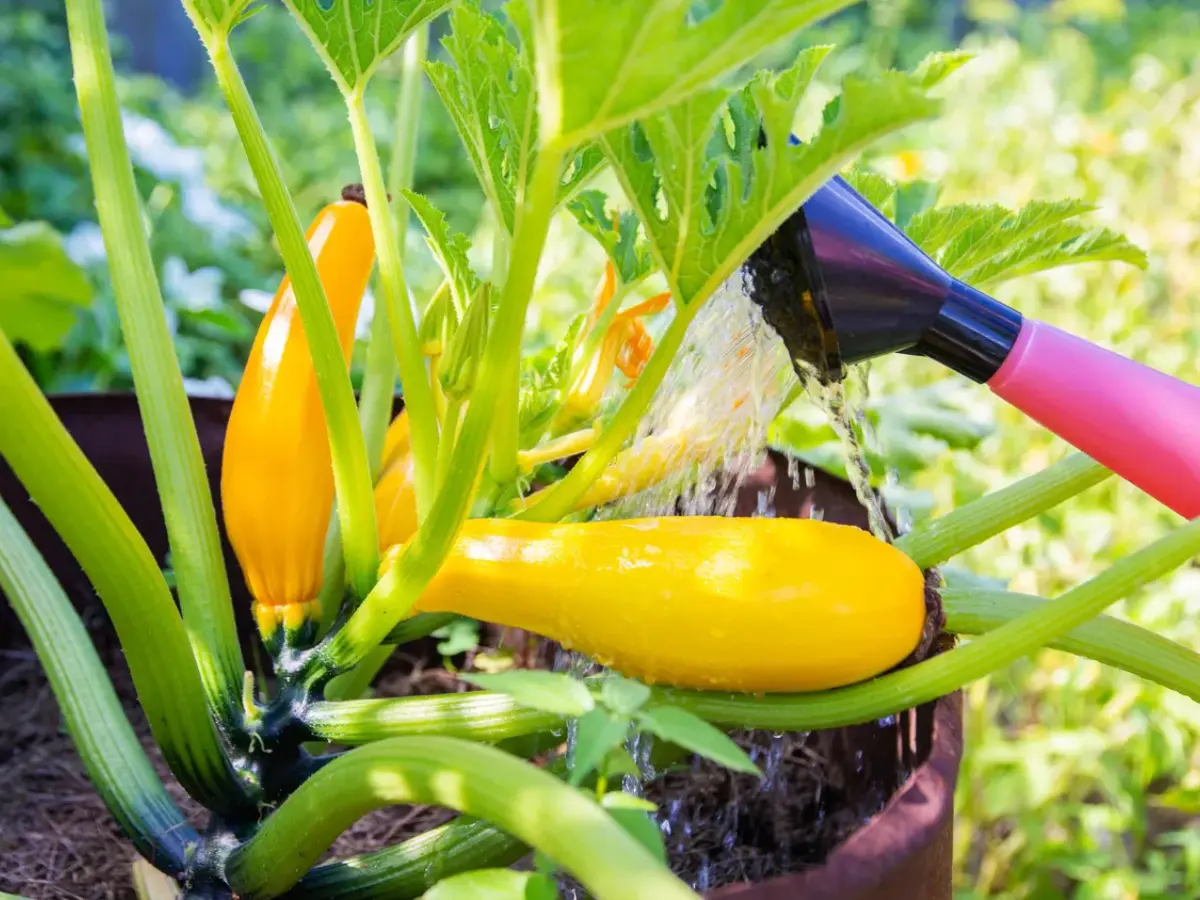
Broad squash leaves lose a massive amount of water through transpiration on hot summer afternoons, and developing fruits need consistent moisture to stay plump and tender. Uneven watering can lead to blossom-end rot and stunted growth.
Provide established plants with approximately one to one-and-a-half inches of water per week, increasing the amount during dry spells or high heat waves. Always check the soil moisture by inserting a finger two inches deep; if it feels dry, give the plant a thorough soaking.
Water at the base of the stem using a drip line, soaker hose, or watering wand. Avoid overhead sprinklers that wet the foliage, as wet leaves combined with summer heat create the perfect environment for powdery mildew to take hold.
Tip 6: Mulch to Conserve Moisture and Suppress Weeds
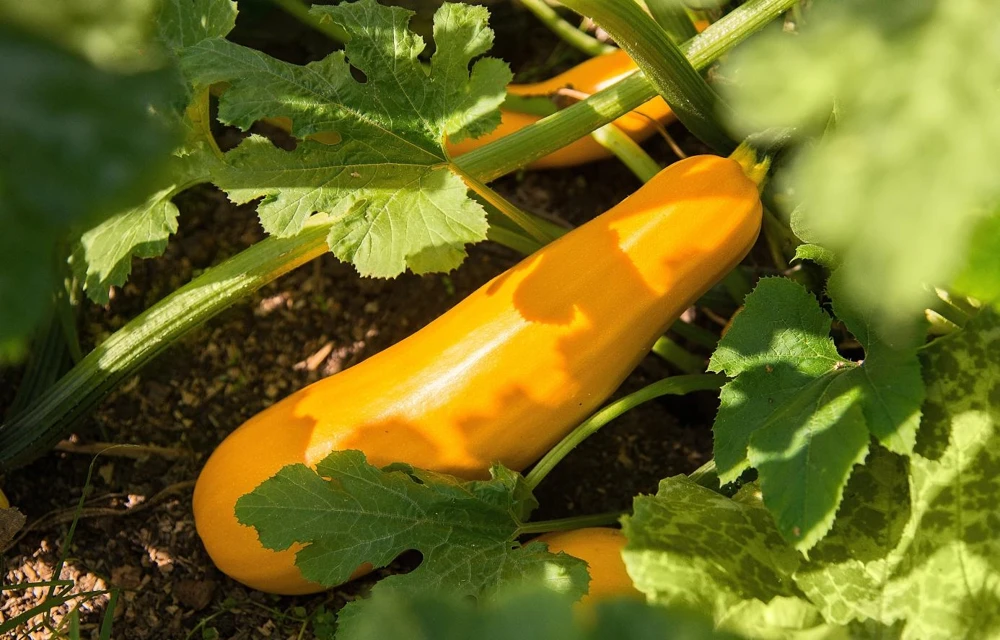
Once your yellow squash seedlings are established and the soil has fully warmed, applying a generous layer of organic mulch around the plants yields multiple benefits for long-term health.
Lay down a two- to three-inch layer of clean straw, shredded leaves, or wood chips around the base of the plant. Mulch helps regulate soil temperature, locks in vital soil moisture, and prevents weed seeds from germinating and competing for nutrients.
Keep the mulch pulled back an inch or two from the main central stem. Keeping the stem clear prevents excess moisture from pooling against the crown, reducing the risk of fungal rots at ground level.
Tip 7: Monitor and Hand-Pollinate Flowers
Yellow squash plants produce separate male and female flowers on the same plant. Male flowers appear first on long, slender stems, followed shortly by female flowers, which feature a small, immature squash behind their petals.
If your plant produces plenty of yellow blooms but the small fruits turn yellow, shrivel, or drop off before growing, poor pollination is likely the culprit. Wet weather, extreme heat, or a lack of local bee activity can prevent proper pollen transfer.
To hand-pollinate, pick a fresh male flower in the early morning, gently strip away the yellow petals, and brush the pollen-coated center directly onto the center of an open female flower. You can also use a small, soft paintbrush to transfer pollen between blooms.
Tip 8: Inspect Early for Squash Bugs and Vine Borers
Pests can quickly undermine an otherwise healthy squash patch if left unchecked. Early detection and quick intervention are essential for protecting your crop from sudden wilting or defoliation.
Check the undersides of leaves twice a week for bronze, geometric clusters of squash bug eggs, and scrape them off with a dull knife or tape. Hand-pick gray adult squash bugs and drop them into a bucket of soapy water.
To protect against the destructive squash vine borer, inspect the lower stem near the soil level for small holes accompanied by green, sawdust-like frass. Wrap the lower two inches of the main stem with aluminum foil at planting time, or pile soil over stem nodes to encourage secondary rooting.
Tip 9: Feed Wisely with Low-Nitrogen Fertilizer
While yellow squash needs adequate nutrition to produce heavy yields, applying too much nitrogen can backfire by encouraging lush, dark green leaf growth at the expense of flowers and fruit.
Start with rich, compost-amended soil. When the plant begins to produce its first flower buds, side-dress with a balanced organic vegetable fertilizer or a formula slightly higher in phosphorus and potassium to support blooming and fruit set.
Avoid heavy applications of high-nitrogen lawn fertilizers. If your squash bush looks huge and bushy but yields very few flowers, hold back on feeding and allow the plant to balance its growth naturally.
Tip 10: Harvest Early and Frequently
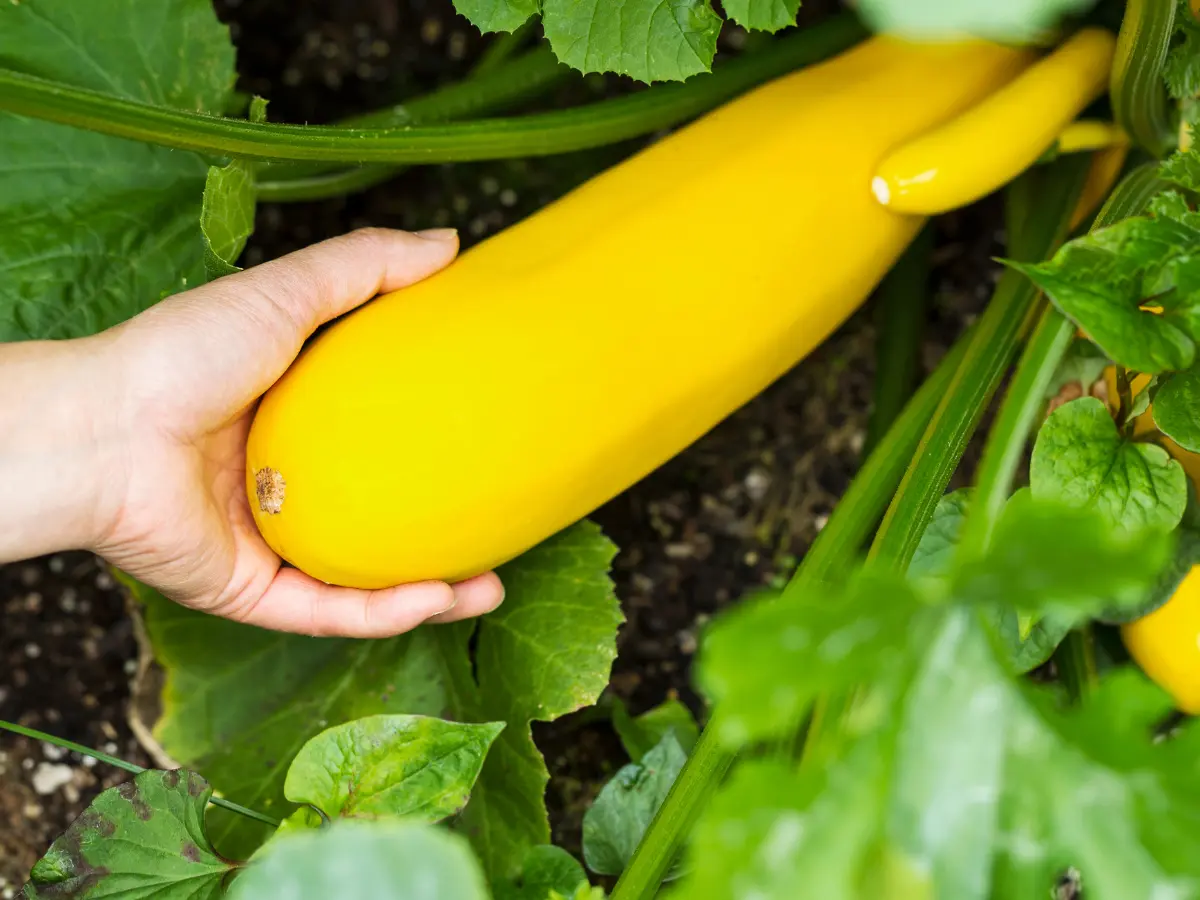
The ultimate secret to keeping a yellow squash plant productive all summer long is frequent, selective harvesting. Allowing fruits to mature into oversized, tough-skinned giants signals the plant to stop producing new blossoms.
Harvest yellow straightneck and crookneck squash when they are young, glossy, and between four and six inches in length. At this stage, the skin is tender, the seeds are tiny, and the flavor is sweet and mild.
Use clean pruners or a sharp garden knife to cut the squash from the vine, leaving a short stem stub attached. Avoid pulling or twisting the fruit, which can snap the vine or tear the main stem. Check under the dense canopy of leaves every single day during peak summer!
Frequently Asked Questions (FAQs)
How many yellow squash plants should I grow per person?
For a typical household, growing one or two healthy yellow squash plants per person will yield more than enough fresh fruit for the entire season. If you plan to freeze, preserve, or share your harvest with neighbors, plant three or four bushes to ensure a generous, continuous supply.
Why are the small squashes turning yellow and falling off?
A tiny squash shriveling and dropping off after the flower closes is usually a sign of incomplete pollination. Wet weather, extreme summer heat, or a lack of local pollinators can prevent pollen from reaching the female bloom. Try hand-pollinating open flowers in the early morning to solve this issue.
Can I grow yellow squash in containers?
Yes, yellow squash thrives in containers if you choose a compact bush variety and use a pot holding at least five to seven gallons of soil with good drainage. Container-grown squash needs full sunlight and daily watering during peak summer heat because smaller soil volumes dry out quickly.
Why does my yellow squash plant have white powder on the leaves?
White, powdery spots on leaves are a classic symptom of powdery mildew, a common fungal disease. To manage it, avoid overhead watering, give your plants plenty of space for airflow, and prune off severely infected lower leaves to keep the disease from spreading to new growth.
Conclusion
In this article, we explored ten essential growing tips for yellow squash plants to help you maximize your garden’s yield this season. These resilient, high-producing vegetables respond exceptionally well to basic care, rewarding your efforts with a continuous supply of tender, flavorful summer squash.
-
Wait for warm soil to prevent seed rot and support quick germination.
-
Provide full sun and airflow to power growth and keep leaves dry.
-
Space plants generously to avoid overcrowding and disease stress.
-
Build fertile soil enriched with plenty of organic compost.
-
Water deeply at the base to keep foliage dry and roots hydrated.
-
Mulch garden beds to retain soil moisture and block weeds.
-
Hand-pollinate flowers when bee activity or weather delays fruit set.
-
Inspect leaves early to catch squash bugs and vine borers before damage spreads.
-
Fertilize with care using balanced nutrients instead of heavy nitrogen.
-
Harvest young and often to keep the plant producing fresh blooms all season.
By incorporating these simple growing tips into your gardening routine, you can enjoy an abundant and healthy harvest despite midsummer weather challenges. Remember to monitor your beds regularly, keep the moisture steady, and harvest your squash while it is sweet and tender.
As you care for your yellow squash plants throughout the warm months, delight in the vibrant blossoms and fresh, healthy produce they bring to your kitchen table. Embrace these practical steps and relish the satisfaction of growing a thriving vegetable garden!
So, get ready to grab your garden gloves and enjoy a bountiful yellow squash season.
